How To De-Winterize Your Sport Boat In 5 Easy Steps
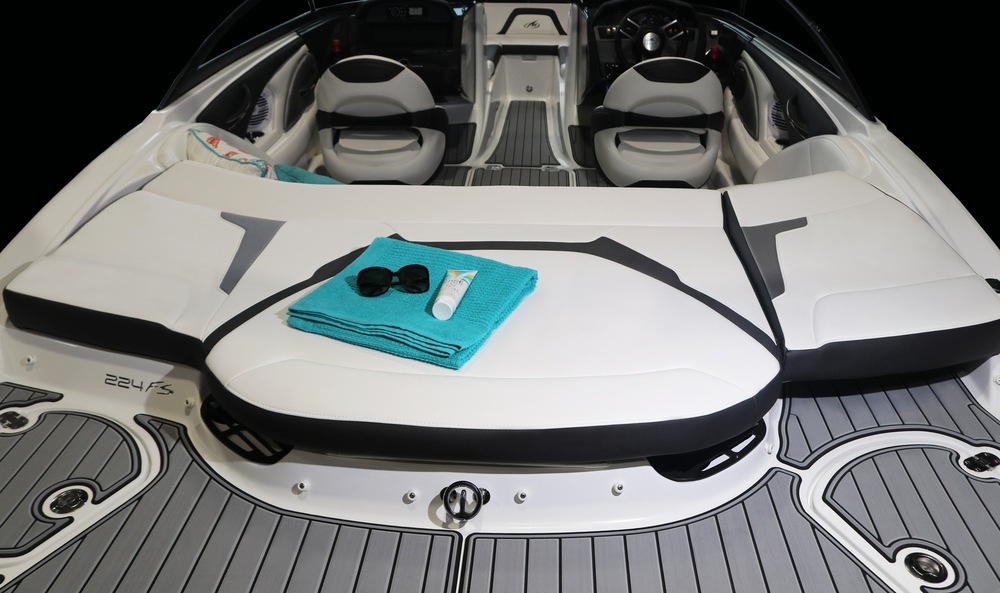
That magnificent stretch of perfect spring days has finally arrived. The temperature is climbing, birds are singing, and your thoughts naturally turn to getting back on the water. After months of winter storage, your beloved bowrider or runabout awaits—but before you can recreate those picture-perfect days of cruising and watersports, a proper de-winterization is essential.
Let's be clear about something: properly transitioning your sport boat from winter hibernation to spring action isn't just about convenience. It's about protecting your investment, ensuring safety, and preventing that disappointing scenario where your first outing gets cut short by mechanical issues that could have been prevented.
The good news? While the process is thorough, it's completely manageable for most boat owners to handle themselves. Here's a straightforward, fivestep approach to de-winterizing your sport boat and getting back to those blissful days on the water.
Step 1: Start With a Complete Inspection
Before diving into systems and mechanicals, take time for a thorough visual inspection of your boat. Winter can be surprisingly hard on vessels, even those properly stored and covered.
Hull and Exterior Checks:
• Examine the hull for any cracks, blisters, or damage that may have occurred during storage
• Check for signs of animal or insect intrusion—unwanted winter guests can cause significant damage
• Inspect all exterior hardware like cleats, handles, and rails for security and signs of corrosion
• Examine the propeller for dings, bends, or obvious damage that could affect performance
• Test your trailer components if your boat was stored on one (lights, wheels, brakes, and winch)
Interior Inspection:
• Check upholstery and cushions for any moisture damage, mildew, or critter evidence
• Test all hatches, compartments, and storage areas for proper operation
• Examine floor, stringers, and transom for any signs of water damage or delamination
• Inspect windows and windshields for cracks or deteriorating seals
This initial walkthrough establishes your baseline needs and helps prioritize the rest of your de-winterization process. Make a simple list of any issues discovered so nothing gets overlooked in your excitement to get back on the water.
Step 2: Revive Your Engine and Fuel System
Your boat's power plant deserves special attention after its winter rest. Most winterization procedures involve adding stabilizers and fogging oils that need to be addressed before regular operation.
For Outboard Engines:
• Remove the cowling and inspect for any signs of corrosion or rodent damage
• Check all visible hoses, clamps, and connections for cracks or deterioration
• Reconnect the battery cables if they were disconnected (always connect positive first)
• Replace the spark plugs with fresh ones if they were removed during winterization
• Check and top off engine oil and gear case lubricant levels
• Reconnect the fuel line and prime the fuel system according to your engine manual
• Flush the cooling system before starting (using muffs or flush bag)
For Inboard or Stern Drive Engines:
• Change the engine oil and filter if not done during winterization
• Check all fluid levels including transmission fluid, power steering fluid, and coolant
• Inspect the belts for tension and wear, adjusting or replacing as needed
• Check impeller function and replace if it appears damaged or if it's been 2+ years
• Inspect the exhaust system for any signs of blockage or damage
• Remove engine drain plugs if they were installed for winter storage
The fuel system requires special attention, particularly with today's ethanol-blended fuels:
• If you added fuel stabilizer before storage, your fuel should be ready to use
• If not, consider draining old fuel and starting fresh
• Replace fuel filters and inspect fuel lines for softness, cracks, or brittleness
• Check for water in fuel separators and drain if present
Wait to fully start your engine until the boat is in the water (or properly connected to cooling water supply), as running without water circulation can quickly cause overheating and damage.
Step 3: Check and Restore Electrical Systems
Modern sport boats rely heavily on electrical systems for everything from starting to navigation. After months of inactivity, these systems need careful attention.
Battery Care:
• Inspect batteries for clean, tight connections and signs of corrosion
• If batteries were stored separately, reinstall them securely
• Check battery charge levels with a multimeter and recharge as needed
• Clean battery terminals with a wire brush and apply anti-corrosion spray
Electrical Component Check:
• Test all navigation lights, cabin lights, and accessory lights
• Verify bilge pump operation by manually triggering the float switch
• Check all gauges for proper function once the engine is running
• Test the horn, radio, depth finder, and other electronics
• Ensure all switches operate smoothly without sticking
If you notice any electrical issues, address them before heading out. Electrical problems on the water can range from inconvenient to dangerous, so don't skip this critical step in the de-winterization process.
Step 4: Prepare the Water Systems
If your sport boat has freshwater systems for sinks, showers, or toilets, they likely contain non-toxic antifreeze that must be thoroughly flushed before use.
Freshwater System Restoration:
• Drain any remaining winterizing antifreeze from the system
• Sanitize the freshwater tank with a solution of bleach and water (1/4 cup bleach per 15 gallons of tank capacity)
• Fill the tank with clean water and run each faucet until the water runs clear
• Flush the system again with clean water to remove any remaining bleach taste
• Check for leaks at all connections and fixtures
For Boats with Marine Toilets:
• Flush thoroughly with clean water to remove all traces of antifreeze
• Check all hoses and connections for leaks
• Lubricate pumps according to manufacturer recommendations
• Verify that seacocks (if equipped) operate freely and don't leak
For systems with hot water heaters, ensure they're filled with water before restoring power to avoid element damage. And don't forget to reinstall drain plugs that were removed for winterization.
Step 5: Safety Equipment and Final Preparations
Before you hit the water, verify that all required safety gear is present, functional, and accessible.
Essential Safety Checks:
• Ensure life jackets are in good condition and sufficient quantity for all passengers
• Test fire extinguishers and verify they're fully charged
• Check that visual distress signals (flares, etc.) haven't expired
• Test navigation lights for proper operation
• Verify that your horn or sound-producing device works properly
• Ensure your first aid kit is complete and medications haven't expired
Final Preparation Tasks:
• Clean the boat thoroughly inside and out
• Wax external surfaces for protection against the elements
• Apply a UV protectant to vinyl seats and plastic components
• Replace any cracked or damaged seat cushions
• Test the trailer winch, lights, and brakes before your first launch
• Ensure your registration is current and properly displayed
Take the time to reacquaint yourself with your boat's operational characteristics and safety features, particularly if you have less experienced passengers joining you for early season outings.
Practical Tips for a Successful Spring Launch
A few additional pointers can help ensure your de-winterization goes smoothly:
• Don't rush the process. Set aside a full day or weekend rather than trying to squeeze everything into a few hurried hours. •
Create a personalized checklist. Use this guide as a starting point, but add specific items unique to your boat model.
• Consider a professional inspection. If your boat is older or has sophisticated systems, having a professional mechanic check the engine and critical systems provides peace of mind.
• Start small. Make your first outing a short one in protected waters to ensure everything functions as expected before planning longer trips.
• Bring tools and spares. For early season outings, pack basic tools, spare parts, and a jump starter in case something needs attention.
When to Seek Professional Help
While most de-winterization tasks are DIY-friendly, certain situations warrant professional assistance:
• Engine issues that go beyond basic maintenance
• Electrical problems that can't be traced to simple causes
• Structural concerns like transom weakness or hull damage
• Complex systems like air conditioning or generators
• If you're simply not comfortable performing certain tasks Remember that an hour of professional service now can prevent days of downtime during prime boating season.
The Reward: Getting Back to What Matters
The effort you invest in properly de-winterizing your sport boat pays immediate dividends when you hit the water for that first glorious spring day. There's nothing quite like the feeling of confidence that comes from knowing your vessel is thoroughly prepared for a season of memory-making adventures.
Picture it now: the sun warming your face, the satisfying purr of a wellmaintained engine, and the endless possibilities of a full boating season ahead. That's what makes the de-winterization process not just necessary maintenance, but the exciting first step in returning to the lifestyle you love.
So check those last items off your list, load up your gear, and head to the launch ramp. The water is calling, and your properly de-winterized sport boat is ready to answer.
Bookmark & Share
User Comments
Be the first to comment on this post below!
Previous Article


